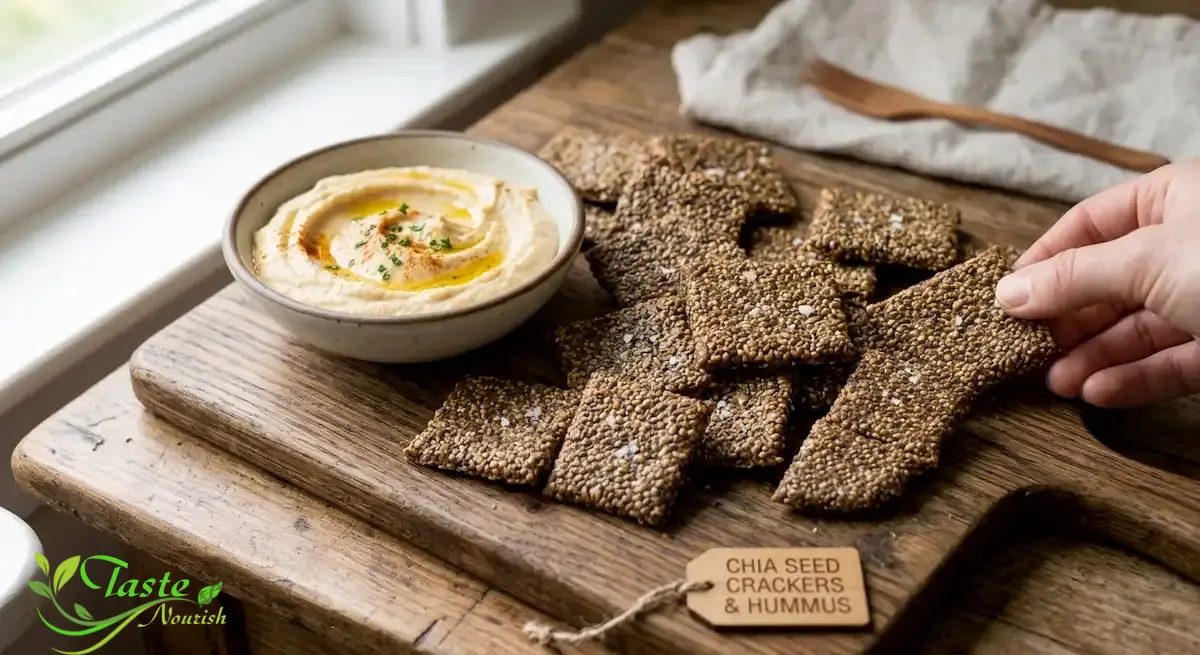

Easy Homemade Hummus Recipe (Classic & Ready in 10 Minutes)
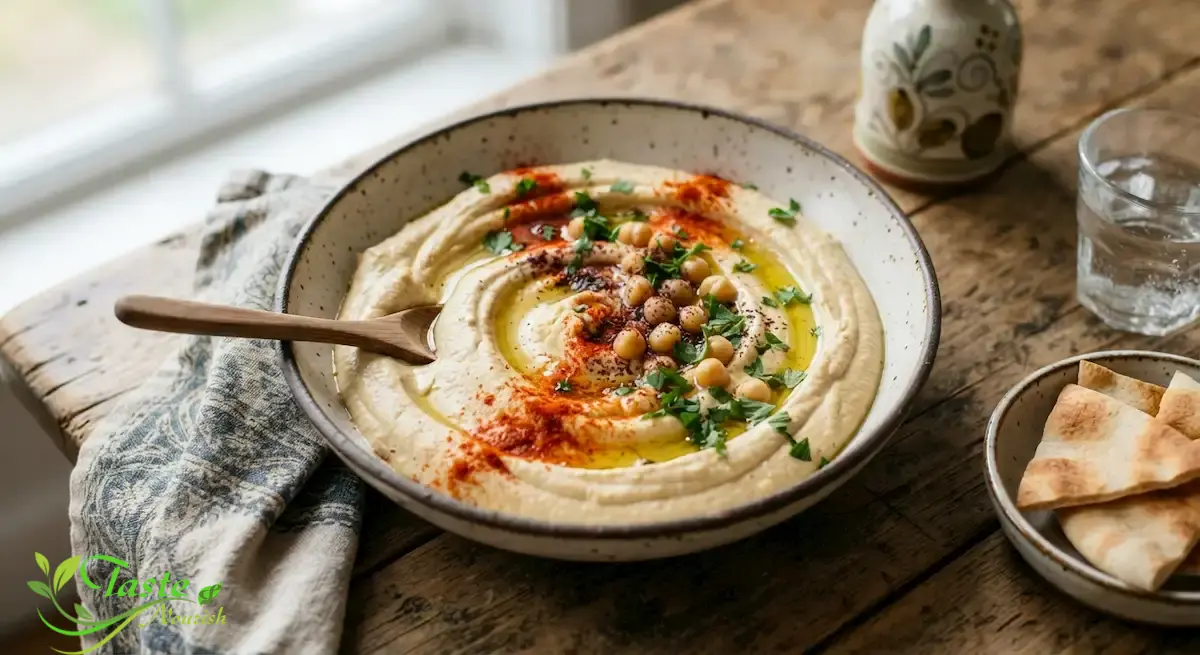
There’s a reason a good bowl of hummus disappears within minutes of hitting the table: when it’s made right, it’s silky, deeply savory, and impossible to stop dipping into. This homemade hummus recipe is the classic version I come back to again and again — five pantry staples, one food processor, and about 10 minutes of hands-on time. No soaking dried chickpeas overnight, no fussy techniques, just the creamy, tangy, garlicky dip that makes vegetables, pita, and crackers taste like a party.
If you’ve only ever had hummus from a plastic tub, this recipe is going to change your baseline for what “good hummus” actually tastes like.
Quick Answer: What Is Homemade Hummus?
Homemade hummus is a smooth, creamy dip made by blending cooked chickpeas with tahini, lemon juice, garlic, olive oil, and salt until light and spreadable. The classic version comes together in a food processor in about 10 minutes using canned chickpeas, and the key to restaurant-style texture is blending the tahini and lemon juice together first, then adding ice water gradually while the machine runs to whip the mixture until airy and pale.
Homemade Hummus Recipe at a Glance
| Detail | Time / Info |
|---|---|
| Prep Time | 10 minutes |
| Cook Time | 0 minutes (no-cook) |
| Total Time | 10 minutes |
| Yield | About 2 1/4 cups (9 servings of 1/4 cup) |
| Difficulty | Easy |
Key Takeaways
- The secret to ultra-smooth homemade hummus is blending the tahini and lemon juice together first for a full 1-2 minutes before adding anything else — this “whips” the tahini and is the single biggest texture upgrade you can make.
- Ice water, added a tablespoon at a time while the processor runs, is what gives hummus its light, cloud-like texture instead of a heavy, pasty one.
- Peeling the chickpea skins is optional but does make a noticeably smoother dip if you have an extra five minutes.
- Room-temperature or slightly warm chickpeas blend smoother than cold-from-the-fridge ones, so don’t skip draining and rinsing with warm water.
- Taste and adjust salt and lemon at the very end — the flavor changes as the hummus rests, so a batch that tastes slightly under-salted right after blending is usually balanced within 15 minutes.
Why You’ll Love This Homemade Hummus
This is the recipe I make when I want something that tastes like it took real effort but actually took ten minutes and one appliance. It’s nutty from the tahini, bright from fresh lemon, and finished with just enough garlic to keep things interesting without taking over. Unlike a lot of store-bought tubs, there’s no gummy stabilizer texture here — just a naturally creamy dip that gets its body from properly blended chickpeas and good olive oil.
It’s also endlessly practical. A batch keeps well in the fridge for a work-week’s worth of snacking, it dresses up a cheese board in about ninety seconds, and it’s one of the few dips that reliably satisfies vegetarians, vegans, and everyone else at the same gathering. make it feel like a dip you can actually build a snack around, not just an indulgence.
After making more batches of this than I can count for potlucks, meal prep, and party platters, I’ve landed on a version that’s forgiving enough for a first attempt but has enough technique behind it to genuinely rival what you’d get at a Mediterranean restaurant.
Ingredients for Classic Homemade Hummus
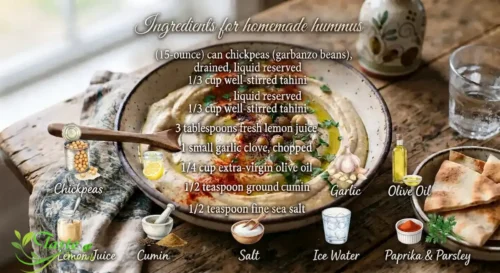
- 1 (15-ounce) can chickpeas (garbanzo beans), drained, liquid reserved
- 1/3 cup well-stirred tahini
- 3 tablespoons fresh lemon juice (about 1 large lemon)
- 1 small garlic clove, roughly chopped
- 1/4 cup extra-virgin olive oil, plus more for serving
- 1/2 teaspoon ground cumin
- 1/2 teaspoon fine sea salt, plus more to taste
- 2 to 4 tablespoons ice water, as needed
- Paprika, chopped parsley, and a drizzle of olive oil, for serving
Ingredient Notes and Substitutions
- Chickpeas: Canned works great and is what makes this a true 10-minute recipe. If you’d rather cook dried chickpeas, use about 1 1/2 cups cooked and cooled.
- Tahini: Use a well-stirred, runny tahini — if yours has separated with a thick layer of paste at the bottom of the jar, stir vigorously before measuring or the hummus will taste chalky.
- No tahini on hand? You can substitute an equal amount of unsweetened peanut butter or plain Greek yogurt in a pinch, though the flavor will drift from classic hummus toward something a bit different.
- Lemon juice: Fresh is worth it here; bottled lemon juice tends to taste flatter and slightly metallic in a dip this simple.
- Garlic: Start with one clove if you’re serving a crowd that isn’t sure how they feel about raw garlic — you can always blend in more, but you can’t take it back out.
- Olive oil: A good extra-virgin olive oil matters more here than in cooked dishes, since you’re tasting it raw. Use one you’d be happy drizzling on a salad.
How to Make Homemade Hummus
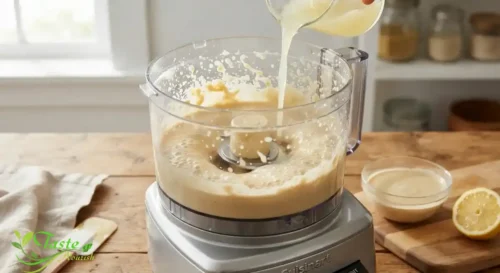
1. Blend the tahini and lemon juice first. In a food processor, combine the tahini and lemon juice. Process for 1 to 2 minutes, scraping down the sides halfway through, until the mixture looks pale, thick, and slightly whipped — like a smooth peanut butter. This step alone is what separates grainy hummus from silky hummus.
2. Add the garlic, olive oil, cumin, and salt. Add these to the whipped tahini mixture and process for 30 seconds more, until fully combined and fragrant.
3. Add the chickpeas. Drain the chickpeas (reserving the liquid), add about half to the food processor, and process for 1 minute. Scrape down the sides, add the rest of the chickpeas, and process again for 1 to 2 minutes.
4. Stream in ice water to loosen and whip. With the processor running, add ice water 1 tablespoon at a time (you’ll likely use 2 to 4 tablespoons total, or substitute the reserved chickpea liquid) until the hummus is light, fluffy, and completely smooth — it should fall from a spoon in a slow ribbon rather than sit in a stiff mound.
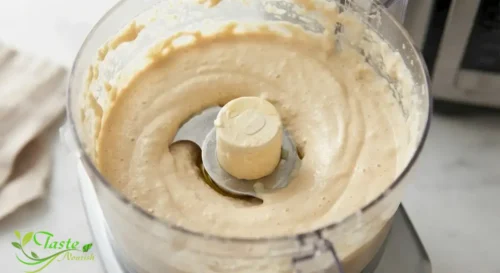
5. Taste and adjust. Taste for salt and lemon, adding a pinch more of either if the flavor feels flat. Blend for another 15 seconds after any adjustment.
6. Rest, then serve. Let the hummus sit for 5 minutes if you can — the flavors round out slightly as it rests. Spread onto a shallow bowl or plate, swirl the surface with the back of a spoon, and finish with a drizzle of olive oil, a sprinkle of paprika, and chopped parsley.
Expert Tips for the Best Homemade Hummus
- Peel the chickpeas for extra-smooth texture. Rub the drained chickpeas between two clean kitchen towels or in a bowl of water — the skins will float or rub loose easily. It takes about 5 extra minutes and makes a genuinely noticeable difference in silkiness.
- Simmer canned chickpeas with baking soda for even softer beans. If you have a couple of extra minutes, simmer the drained chickpeas in water with a pinch of baking soda for 3 to 5 minutes, then rinse. The alkaline water breaks down the pectin in the skins and softens the beans further, which the food processor rewards with a smoother result.
- Don’t skip the “tahini first” step. Blending tahini and lemon juice before anything else emulsifies the fat properly, the same principle as building an aioli — skipping straight to a full dump of everything into the processor is the most common reason hummus turns out gritty.
- Chill your serving plate. A slightly cool plate keeps the olive oil garnish from pooling too fast, so the swirled presentation holds up longer on a party table.
Common Mistakes to Avoid
- Mistake: Using cold, separated tahini straight from the jar. Fix: Stir the tahini thoroughly (or warm the sealed jar briefly in a bowl of hot water) before measuring, so the oil and paste are fully reincorporated.
- Mistake: Adding all the chickpeas before the tahini-lemon mixture is whipped. Fix: Always process tahini and lemon juice alone first — this single sequencing change fixes most grainy hummus problems.
- Mistake: Not scraping down the bowl. Fix: Stop and scrape the sides of the food processor at least twice during blending; unblended pockets at the edges leave lumps in the final texture.
- Mistake: Skipping the ice water. Fix: A tablespoon or two of ice water whipped in at the end is what gives hummus its light, aerated texture — without it, hummus can taste dense and heavy no matter how long you blend.
- Mistake: Under-salting because you tasted it too early. Fix: Taste again after the hummus has rested for a few minutes; flavors continue to develop and salt needs often shift slightly after the initial blend.
Recipe Variations
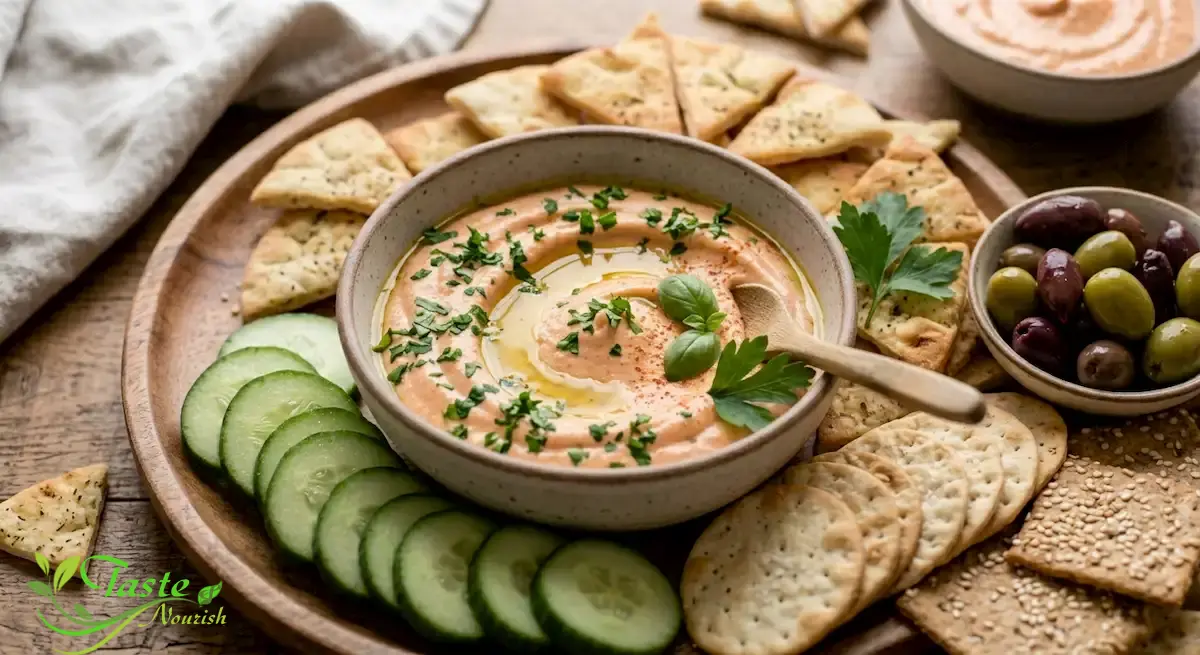
- Roasted Red Pepper Hummus: Blend in 1/2 cup of jarred roasted red peppers (well-drained) with the chickpeas for a smoky, slightly sweet variation.
- Extra-Garlicky Hummus: Roast a whole head of garlic until soft and squeeze in 3 to 4 cloves in place of the raw garlic for a mellower, caramelized flavor.
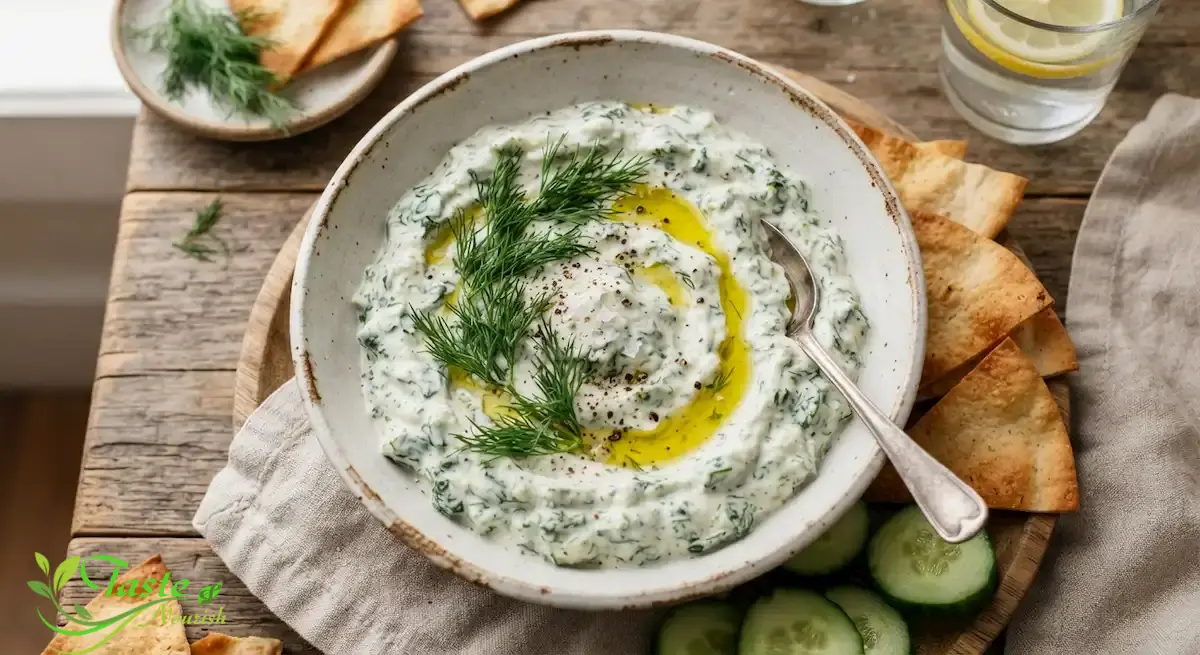
- Herbed Hummus for a Party: Fold in 2 tablespoons of finely chopped fresh herbs — parsley, cilantro, or dill all work — after blending, for a fresh, occasion-ready presentation on a party platter.
Serving Suggestions

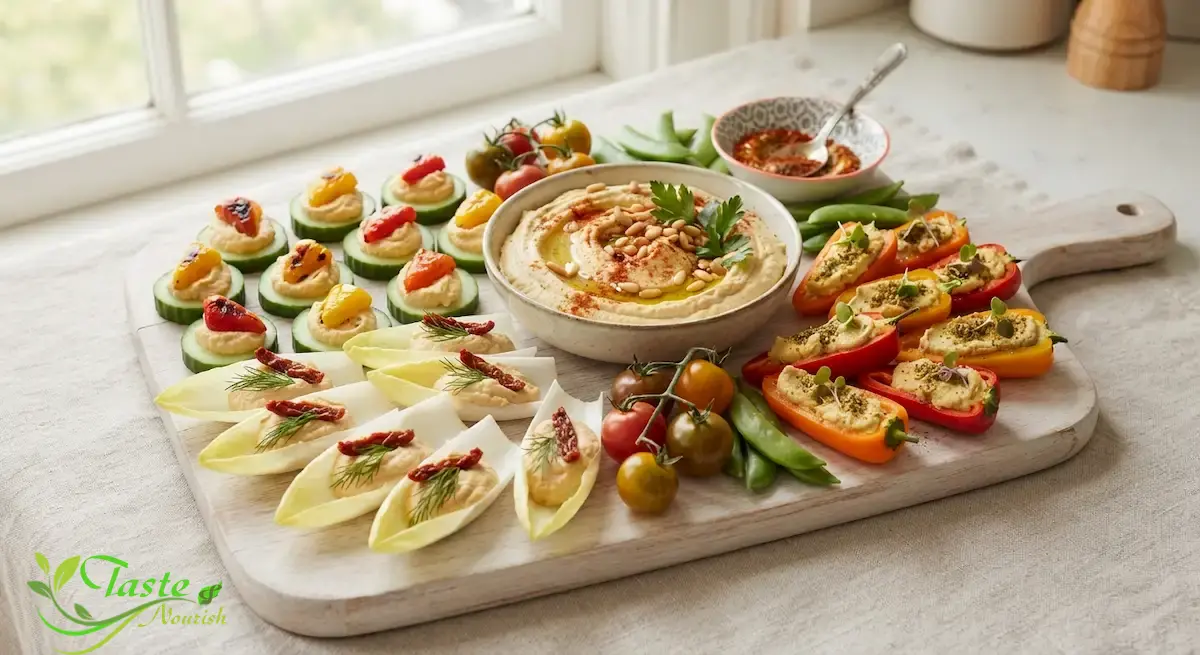
Serve homemade hummus in a shallow bowl with the surface swirled, a generous drizzle of olive oil, and a dusting of paprika or sumac. Warm pita bread or pita chips are the classic pairing, but it’s just as good with a spread of fresh vegetables — cucumber spears, carrot sticks, bell pepper strips, and cherry tomatoes all hold up well for dipping. For a full mezze-style spread, set it out alongside olives, feta, and other small dips so guests can build their own plate.
Nutrition Information
The estimates below are for one serving (about 1/4 cup, 60 g) of this homemade hummus recipe, based on standard nutrient data for hummus made from chickpeas, tahini, and olive oil.
| Nutrient | Amount per Serving |
|---|---|
| Calories | ~140 kcal |
| Protein | ~4 g |
| Carbohydrates | ~9 g |
| Fat | ~10 g |
| Fiber | ~3 g |
These values are estimates only, calculated from standard ingredient nutrient data (see USDA FoodData Central in the References section below) and will vary depending on exact brands and quantities used.
Storage Instructions
Store homemade hummus in an airtight container in the refrigerator for up to 5 to 7 days. Press a thin layer of plastic wrap directly onto the surface before sealing the lid, or top with a thin film of olive oil, to help slow oxidation and keep the surface from drying out or discoloring. Hummus can also be frozen in an airtight, freezer-safe container for up to 3 months; the texture may separate slightly upon thawing, so stir well or pulse briefly in a food processor after it defrosts in the refrigerator.
Make-Ahead Tips
Homemade hummus is an excellent make-ahead dish — in fact, the flavor often improves after a day in the fridge as the garlic mellows and the ingredients meld. Make it up to 3 days before you plan to serve it, store it covered in the refrigerator, and give it a good stir before plating. If it thickens slightly after chilling, loosen it with a teaspoon of water or olive oil and stir until it returns to a smooth, spreadable consistency.
Homemade Hummus Recipe FAQs
Is homemade hummus healthier than store-bought hummus?
Homemade hummus is often lower in sodium and free of preservatives compared to many store-bought versions, since you control exactly how much salt and oil goes in. Chickpeas themselves are a source of plant protein and fiber, which may help support satiety as part of a balanced diet.
Do I need to peel the chickpeas for smooth hummus?
No, it’s not required — this recipe produces good results with unpeeled canned chickpeas. Peeling is an optional extra step for anyone chasing an even silkier, more restaurant-style texture.
Can I make hummus without tahini?
Yes, though the flavor will shift away from classic hummus. Unsweetened peanut butter or plain Greek yogurt can stand in for tahini in a pinch, but tahini’s toasted, nutty flavor is part of what defines traditional hummus.
Why is my hummus grainy instead of creamy?
Grainy hummus is almost always caused by adding chickpeas before the tahini and lemon juice are fully whipped together, or by not adding enough ice water to loosen the mixture. Blending tahini and lemon juice first, then streaming in ice water at the end, are the two fixes that solve this most often.
How long does homemade hummus last in the fridge?
Properly stored in an airtight container, homemade hummus keeps well in the refrigerator for 5 to 7 days.
Can I use dried chickpeas instead of canned?
Yes. Cook about 1/2 cup of dried chickpeas (soaked overnight, then simmered until very tender) to yield roughly 1 1/2 cups cooked chickpeas, which can be substituted directly for the canned chickpeas in this recipe.
Conclusion
Once you’ve made your own homemade hummus, it’s hard to go back to the tub from the grocery store. With a food processor, five main ingredients, and about ten minutes, you get a creamier, fresher, more flavorful dip than most store-bought options — and one you can easily customize to whatever flavor direction you’re in the mood for. Keep this base recipe in your regular rotation and you’ll always have a reliable, crowd-pleasing dip ready for snacking, entertaining, or meal prep.
References
- U.S. Department of Agriculture, FoodData Central. “Hummus, Commercial.” https://fdc.nal.usda.gov/food-details/174289/nutrients
- Harvard T.H. Chan School of Public Health, The Nutrition Source. “Chickpeas (Garbanzo Beans).” https://nutritionsource.hsph.harvard.edu/food-features/chickpeas-garbanzo-beans/
- National Institutes of Health, Office of Dietary Supplements. “Magnesium: Fact Sheet for Health Professionals.” https://ods.od.nih.gov/factsheets/Magnesium-HealthProfessional/
- U.S. Food and Drug Administration. “Sodium in Your Diet.” https://www.fda.gov/food/nutrition-education-resources-materials/sodium-your-diet
- National Institutes of Health, National Library of Medicine, PubMed Central. “Chickpea attenuates postprandial blood glucose responses: a systematic review and meta-analysis.” https://www.ncbi.nlm.nih.gov/pmc/articles/PMC12261582/