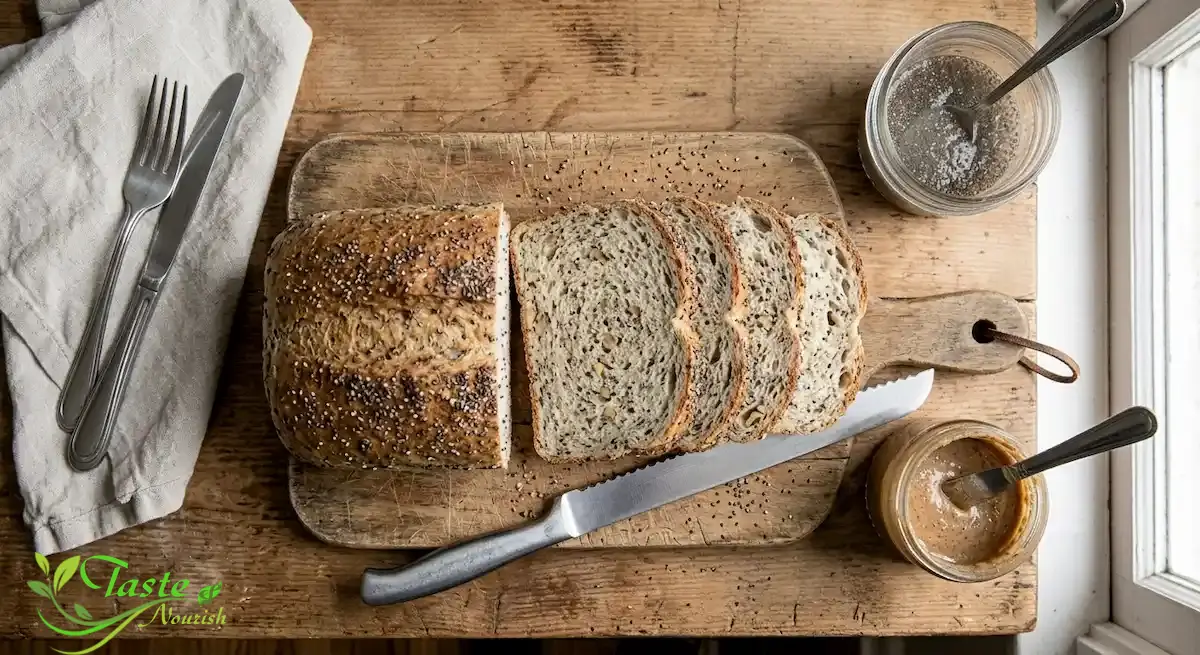
If you’ve been searching for a chia seed bread recipe that actually slices clean, holds together for sandwiches, and doesn’t taste like a health-food experiment, this whole wheat loaf is built for exactly that. It’s soft enough for breakfast toast, sturdy enough for a packed lunch sandwich, and the chia seeds do real work here instead of just sitting on top for looks.
This chia seed bread recipe combines whole wheat flour, bread flour, yeast, and a soaked chia gel to produce a soft, lightly nutty sandwich loaf. The chia gel replaces some of the water in the dough, adding moisture and a subtle binding quality similar to what chia does in vegan baking. Mix the dough, let it rise twice, bake at 350°F for 30 to 35 minutes, and cool completely before slicing. The result is a homemade chia seed bread with a tender crumb, a golden crust, and enough structure to hold up to nut butter, eggs, or deli fillings.
Key Takeaways
This chia seed bread recipe uses a soaked chia gel, not dry seeds alone, which is what keeps the crumb moist instead of dry or gritty.
A blend of whole wheat flour and bread flour gives a lighter texture than a loaf made with 100% whole wheat flour.
Two rises are non-negotiable: rushing either one leads to a dense, tight crumb.
Doneness is best judged by internal temperature (190°F to 200°F) and a hollow sound when tapped, not just the clock.
Let the loaf cool completely before slicing, or the crumb will look gummy even though it’s fully baked.
What Is Chia Seed Bread?
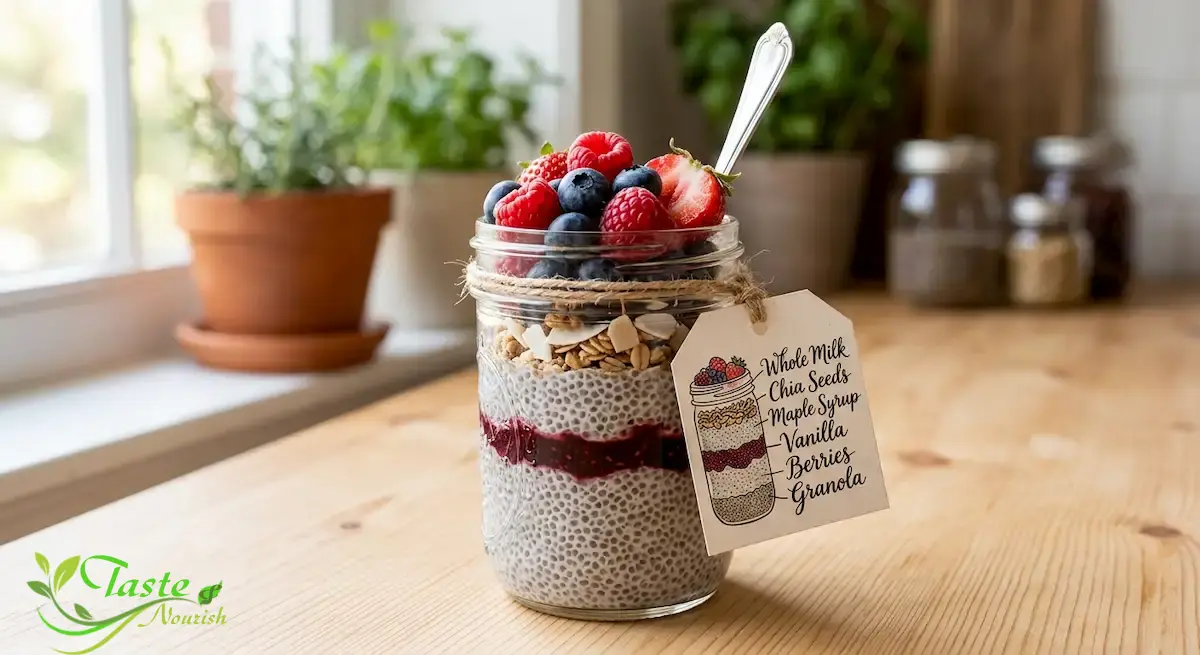
Chia seed bread is a yeasted loaf where chia seeds are worked into the dough, usually as a soaked gel, rather than just scattered on top. This is different from chia pudding, which is a no-bake breakfast made by soaking chia seeds in milk until they thicken into a spoonable pudding. In this recipe, the chia seeds are hydrated first into a thick gel, similar to how bakers use a “chia egg” in vegan baking, and that gel is folded into the dough to add moisture and a small amount of binding structure.
The whole wheat flour gives the loaf its heartier, slightly nutty flavor and denser bite, while a portion of bread flour keeps the crumb from turning heavy or crumbly. The chia seeds themselves are mild in flavor, so you’ll notice their texture — a faint, pleasant crunch from the seeds that don’t fully break down — more than any strong taste.
Ingredients for This Whole Wheat Chia Bread Recipe
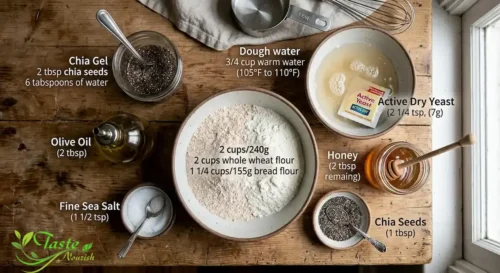
For the Chia Gel
2 tablespoons whole chia seeds
6 tablespoons water
Soaking the chia seeds before they go into the dough is the step that separates a good chia seed sandwich bread from a dry, seed-studded one. Dry chia seeds added straight to dough pull moisture from the surrounding flour as they hydrate during baking, which can leave the crumb dry. Pre-soaking lets the seeds absorb their water upfront, so they contribute moisture to the dough instead of stealing it.
For the Dough
3/4 cup (180ml) warm water, 105°F to 110°F
2 1/4 teaspoons active dry yeast (one standard packet)
3 tablespoons honey, divided
2 tablespoons olive oil
1 1/2 teaspoons fine sea salt
2 cups (240g) whole wheat flour
1 1/4 cups (155g) bread flour, plus more for kneading
1 tablespoon whole chia seeds, for topping the crust (optional)
Whole wheat flour gives this loaf its structure and heartier character. If you only have all-purpose flour, you can substitute it, but the loaf will taste milder and slightly less dense. Whole grains like whole wheat flour retain the bran and germ that refined flour strips away, which is why they tend to have a milder effect on blood sugar than refined white flour, according to the Harvard T.H. Chan School.
Bread flour has more protein than all-purpose flour, which helps the dough develop enough gluten to rise well despite the weight of the whole wheat flour and chia seeds. If you don’t have bread flour, all-purpose flour works as a substitute, though the crumb will be a touch softer and less chewy.
Honey feeds the yeast and adds a mild sweetness that balances the earthiness of the whole wheat flour. Maple syrup is a suitable one-to-one swap if you’d rather keep the recipe free of honey.
Warm water temperature matters more than most people expect. Water that’s too hot (above about 120°F) can kill active dry yeast before it has a chance to activate, while water that’s too cool will slow the yeast down significantly. Use a thermometer if you have one, or aim for water that feels warm on your wrist but not hot.
How to Prepare the Ingredients
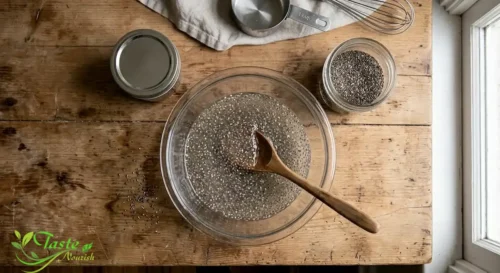
1. Make the chia gel first. In a small bowl, stir together 2 tablespoons of chia seeds and 6 tablespoons of water. Let it sit for 10 to 15 minutes, stirring once halfway through, until it thickens into a gel similar in consistency to a loose pudding. Don’t skip the stirring — chia seeds tend to clump if left completely undisturbed.
2. Measure the flour correctly. Spoon the flour into your measuring cup and level it off with the back of a knife, rather than scooping directly from the bag. Scooping compacts the flour and can add up to 20% more flour than the recipe calls for, which is one of the most common reasons homemade bread turns out dense.
3. Let refrigerated ingredients come toward room temperature if you’re using cold olive oil or honey straight from the fridge, since very cold ingredients can slow down yeast activity in the early stages of mixing.
4. Avoid tasting the raw dough at any point during mixing or kneading. Raw flour is an unprocessed agricultural product that can carry bacteria such as E. coli, and baking is what makes it safe to eat, according to the FDA’s guidance on handling flour safely.
How to Make This Chia Seed Bread Recipe Step by Step
1. Proof the yeast. In a large mixing bowl or the bowl of a stand mixer, combine the warm water, 1 teaspoon of the honey, and the yeast. Stir gently and let it sit for 5 to 8 minutes, until the surface looks foamy and slightly bubbly. If it doesn’t foam at all, the yeast may be inactive — it’s worth starting over with a fresh packet rather than continuing with dough that won’t rise.
2. Add the wet ingredients. Stir the chia gel, remaining honey, and olive oil into the yeast mixture until combined.
3. Mix in the dry ingredients. Add the whole wheat flour, half of the bread flour, and the salt. Stir until a shaggy, rough dough forms. Gradually add the remaining bread flour, a few tablespoons at a time, until the dough starts pulling away from the sides of the bowl. You may not need every bit of the bread flour, or you may need a touch more — humidity affects how much flour whole wheat dough can absorb.
4. Knead the dough. Turn the dough out onto a lightly floured surface and knead by hand for 8 to 10 minutes, or use a stand mixer with a dough hook on low-medium speed for 6 to 8 minutes. The dough is ready when it feels smooth and elastic, is only slightly tacky (not sticky enough to cling heavily to your hands), and springs back slowly when you press it with a finger.
5. First rise. Shape the dough into a ball and place it in a lightly oiled bowl, turning once to coat. Cover with plastic wrap or a damp kitchen towel and let it rise in a warm, draft-free spot for 60 to 90 minutes, until it has roughly doubled in size.
6. Shape the loaf. Gently punch down the dough to release the air. Turn it onto a lightly floured surface, pat it into a rectangle roughly the width of your loaf pan, then roll or fold it into a tight log, pinching the seam closed. Place it seam-side down in a greased 9×5-inch loaf pan.
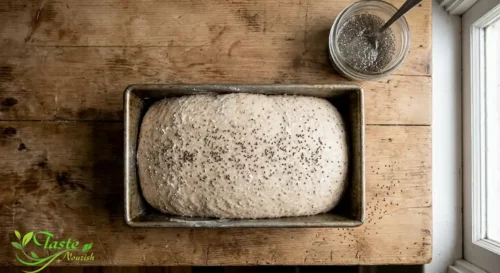
7. Second rise. Cover the pan loosely and let the dough rise for 30 to 45 minutes, until it crowns about 1 inch above the rim of the pan. Toward the end of this rise, preheat your oven to 350°F (175°C).
8. Top and bake. If using, brush the top of the loaf lightly with water and sprinkle with the reserved tablespoon of chia seeds. Bake for 30 to 35 minutes, until the crust is deeply golden brown and the loaf sounds hollow when you tap the bottom. If you have an instant-read thermometer, the center of the loaf should read between 190°F and 200°F.
9. Cool completely. Remove the bread from the pan right away and set it on a wire rack. Let it cool for at least an hour before slicing.
How to Get the Best Texture
The texture you’re aiming for is a soft, tender crumb with just enough chew to hold up in a sandwich, dotted with chia seeds that add a light crunch without turning gritty. A few things make the biggest difference:
Don’t over-flour the dough during kneading. Whole wheat dough can look stickier than white bread dough even when it has enough flour, because the bran in whole wheat flour absorbs water more slowly. Add flour a tablespoon at a time and stop as soon as the dough is manageable rather than perfectly dry to the touch.
Respect both rises. The first rise builds most of the loaf’s structure and flavor, while the second rise (also called proofing) determines how light the final crumb will be. A dough that hasn’t doubled during the first rise, or a loaf that hasn’t crowned above the pan before baking, will bake up dense no matter how good the ingredients are.
Cool before slicing. This is the step people skip most often, and it’s the one that makes a fully-baked loaf look undercooked. The crumb is still setting as the bread cools, and slicing too early releases steam that would otherwise finish that process, leaving a gummy band near the center.
How to Get the Best Flavor
Whole wheat flour brings a naturally nutty, slightly earthy flavor, and this loaf leans into that rather than masking it. The honey rounds out the wheat’s bitterness with a gentle sweetness — not enough to make the bread taste like a sweet bread, just enough to balance it.
If you’d like a slightly more pronounced nutty note, you can lightly toast the tablespoon of chia seeds used for topping in a dry skillet over medium-low heat for one to two minutes before sprinkling them on the loaf; toasting brings out a subtle roasted flavor in the seeds. Don’t toast the chia seeds going into the gel, since raw seeds hydrate more evenly into a smooth gel than toasted ones do.
How to Serve Chia Seed Bread
This loaf earns its keep at breakfast. A few reliable ways to serve it:
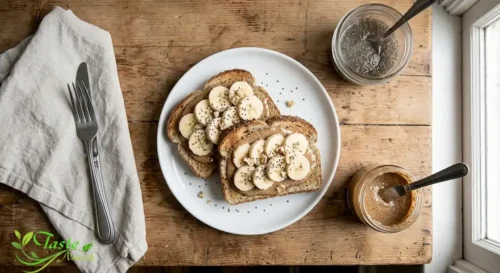
Toasted, with nut butter and sliced banana — the toasting brings out the nuttiness of the whole wheat and chia together.
As a base for avocado toast, since the sturdier crumb holds up to a thick avocado spread without falling apart.
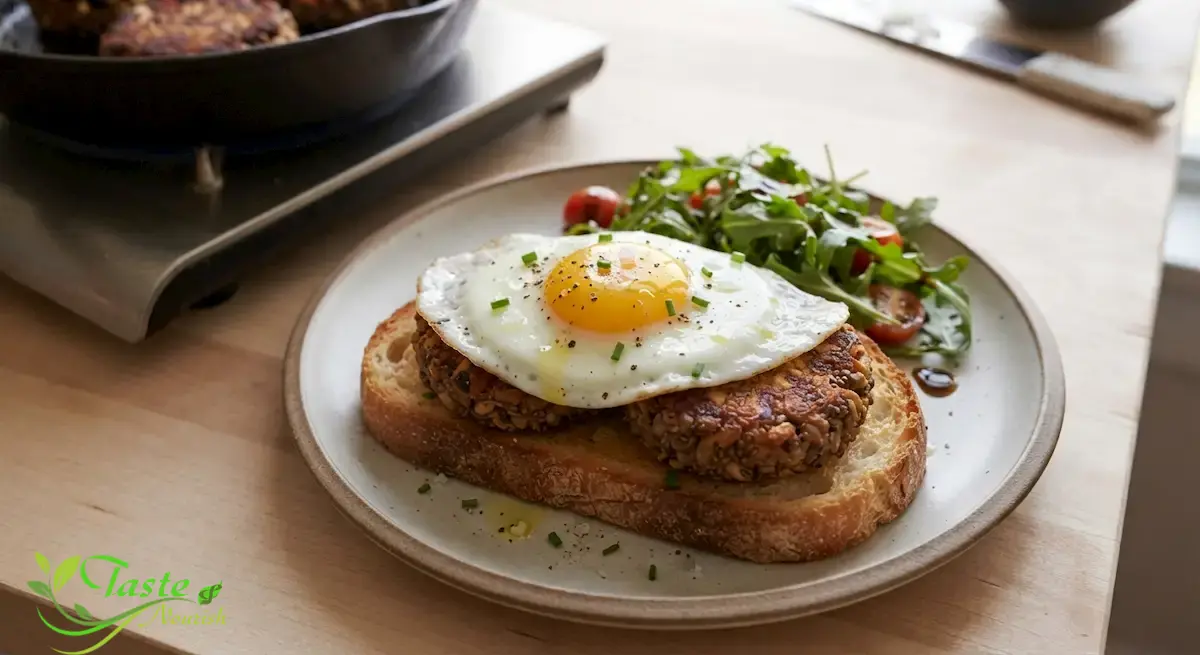
Sliced for a breakfast sandwich with eggs, since the loaf is dense enough to hold fillings without going soggy.
Simply with butter and a drizzle of honey, which lets the flavor of the bread itself come through.
Storage
Store the cooled loaf in a sealed bag or airtight container at room temperature, away from direct heat or sunlight. Because this bread doesn’t contain the commercial preservatives found in most store-bought sandwich bread, it’s best enjoyed within the first few days for peak texture, after which the crumb will gradually dry out.
If you notice any mold on the loaf, discard the entire loaf rather than cutting around the affected area — mold can send roots through porous bread that aren’t visible on the surface, and the USDA Food Safety and Inspection Service advises discarding moldy bread entirely rather than salvaging it.
Can You Freeze Chia Seed Bread?
Yes, and it freezes well. Once the loaf is completely cool, slice it first so you can pull out only what you need later. Wrap the slices tightly in plastic wrap or a freezer bag, pressing out as much air as possible, and store in the freezer.
For the best texture, plan to use frozen slices within a couple of months — freezing doesn’t make bread unsafe to eat beyond that point, but the texture and flavor will gradually decline the longer it sits. Thaw slices at room temperature or pop them directly into the toaster from frozen.
How to Reheat Chia Seed Bread
A toaster or toaster oven is the best way to bring a slice back to life, whether it’s fresh or frozen — a few minutes on a medium setting will re-crisp the crust while warming the crumb through. For the whole loaf, wrapping it in foil and warming it in a 300°F oven for about 10 minutes will refresh the crust without drying out the interior.
Avoid the microwave if you can; it warms bread quickly but tends to leave it tough and slightly chewy as it cools back down.
Common Mistakes
Skipping the chia gel step. Adding dry chia seeds straight into the dough instead of soaking them first is the single biggest reason this specific loaf turns out dry — the seeds pull moisture from the dough as they hydrate during baking instead of contributing it beforehand.
Using water that’s too hot for the yeast. Water above roughly 120°F can kill active dry yeast outright, leaving you with a dough that never rises. If you’re not using a thermometer, err on the side of warm rather than hot.
Packing the flour into the measuring cup. This adds extra flour without you realizing it, which is a common cause of dense, dry whole wheat bread. Spoon and level instead.
Under-kneading the dough. Whole wheat dough needs a full 8 to 10 minutes of kneading (or 6 to 8 in a stand mixer) to develop enough gluten structure to rise properly, since the bran in whole wheat flour interferes with gluten formation more than it does in white flour.
Rushing the rises. A warm kitchen speeds things up and a cool one slows them down, so treat the time ranges as a guide, not a rule. Look for the dough to double in size rather than watching the clock alone.
Slicing the loaf while it’s still warm. This is the most common reason a fully-baked loaf looks gummy in the center. Give it the full cooling time on a wire rack before you reach for the bread knife.
Troubleshooting
My bread turned out dense and heavy. This is almost always one of three things: too much flour was packed into the measuring cups, the dough wasn’t kneaded long enough to develop gluten, or one of the rises was cut short. Whole wheat bread will always be a bit denser than an all-white loaf, but it shouldn’t feel like a brick.
The crumb looks gummy near the center even though the crust is golden brown. This is usually a slicing-too-soon problem rather than an underbaking problem. Let the loaf cool completely — a full hour, minimum — before cutting into it. If the center still looks underdone after a proper cooling period, check that your oven temperature is accurate with an oven thermometer, since ovens can run cooler than their dial indicates.
My dough never doubled in size. The most likely culprit is yeast that didn’t activate, either because it’s old, the water was too hot, or the water was too cold. Always confirm the yeast mixture looks foamy after proofing before moving forward; if it doesn’t foam, it’s worth starting over with a fresh packet.
The loaf collapsed or sank in the middle after baking. This usually means the second rise went too long and the dough over-proofed before it went into the oven, weakening its structure. Aim to bake as soon as the dough crowns about an inch above the pan rather than letting it rise further.
Variations
Vegan version: Swap the honey for an equal amount of maple syrup. The rest of the recipe is already dairy-free.
Cinnamon-raisin chia bread: Add 1 teaspoon of ground cinnamon with the dry ingredients and fold in 1/2 cup of raisins after the dough has finished its first knead.
Seeded crust: In addition to or instead of the tablespoon of chia seeds on top, try a mix of sesame seeds, rolled oats, or sunflower seeds for a different crust texture.
Higher-protein loaf: Stir 2 tablespoons of vital wheat gluten into the dry ingredients along with the flour. This strengthens the dough’s structure, which can be helpful if you’d like to increase the ratio of whole wheat flour to bread flour without sacrificing rise.
This recipe hasn’t been tested with gluten-free flour blends, and gluten-free substitution in a yeasted loaf like this one typically requires a different ratio of ingredients and a xanthan or guar gum binder to hold together — it’s not a straightforward one-to-one swap, so I’d recommend seeking out a recipe developed specifically for gluten-free yeast bread rather than adapting this one.
Chia Seed Bread Recipe FAQs
Can I make this chia seed bread recipe ahead of time?
Yes. The loaf keeps well for several days at room temperature, and it freezes well pre-sliced, so it’s a reasonable bread to bake ahead for the week.
Why did my chia seeds clump together instead of forming a smooth gel?
Chia seeds clump when they’re not stirred while hydrating. Stir the seeds into the water right away, then again once or twice during the 10 to 15 minute soak, to keep them evenly distributed.
Can I substitute the chia seeds with flaxseed?
Ground flaxseed can work in a similar soaked-gel method, though the flavor and texture will be milder and less crunchy than chia, since flax doesn’t hold its shape the way whole chia seeds do.
Do I need a stand mixer to make this bread?
No. This dough can be kneaded entirely by hand; it will just take a few extra minutes of kneading compared to a stand mixer.
Why is my whole wheat chia bread recipe coming out drier than a regular sandwich bread?
Whole wheat flour naturally absorbs more moisture and produces a slightly denser, less airy crumb than all-purpose flour, even when the recipe is followed exactly. Measuring the flour by spooning and leveling rather than scooping, and not skipping the chia gel step, will keep the crumb as moist as this style of bread allows.
How should I store this bread to keep it fresh the longest?
Keep it in a sealed bag or container at room temperature for the first few days, and move any extra to the freezer, pre-sliced, if you won’t finish it within that window.
What can I serve with chia seed sandwich bread besides toast?
It works well as a base for a breakfast egg sandwich, a nut butter and fruit sandwich, or simply sliced and served alongside a bowl of soup.
Conclusion
This chia seed bread recipe is a straightforward way to bring a nutrient-dense ingredient into a loaf that actually behaves like bread — no gumminess, no crumbling, no strange aftertaste. The chia gel is the detail that makes it work, so it’s worth resisting the urge to skip that step. Give both rises their full time, let the loaf cool before you slice it, and you’ll have a homemade chia seed bread sturdy enough for sandwiches and soft enough for a simple slice of morning toast.
Hanan Abo Samra is the founder of Taste & Nourish, sharing trustworthy nutrition guidance and recipes drawn from 20+ years of hands-on cooking experience. When she's not developing new recipes, Hanan is researching the science behind everyday ingredients to bring readers practical, evidence-based guidance for a healthier lifestyle.