
Chia Seed Granola Recipe: Crunchy Homemade Clusters (Easy!)
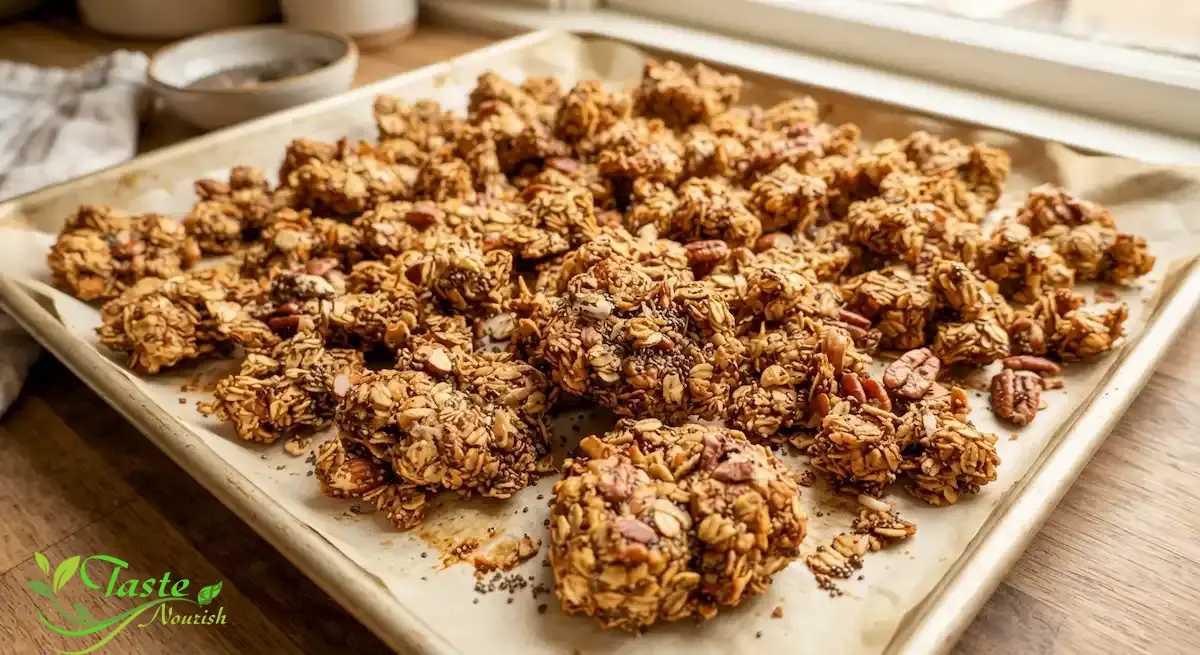
Craving a chia seed granola recipe that actually clusters instead of falling apart into crumbs? This one does exactly that. A handful of pantry staples — rolled oats, chia seeds, nuts, and a warm honey-oil coating — bake low and slow into big, crunchy clusters you’ll want to eat by the fistful. Below you’ll find the exact technique for getting thick clusters every time, plus a simple variation for turning the same batch into homemade chia seed granola bars.
Quick Answer
To make this chia seed granola recipe, stir rolled oats, chia seeds, and nuts into a bowl, coat everything in a warm mixture of honey, oil, and vanilla, then press the mixture firmly onto a baking sheet and bake low and slow at 300°F, stirring only occasionally so large clusters can form. Let it cool completely on the pan before breaking it apart — that resting time is what turns a soft, warm mixture into a crisp, shelf-stable granola.
Key Takeaways
- This chia seed granola recipe bakes at a gentle 300°F so the chia seeds and oats toast evenly without scorching.
- Pressing the mixture firmly onto the pan before baking is the single biggest factor in getting large clusters instead of loose crumbs.
- Chia seeds absorb moisture from the honey and oil as the granola cools, which helps hold clusters together.
- Cooling the granola completely on the pan — undisturbed — is what makes it crisp; warm granola will always taste chewy or soft.
- The same base recipe presses into a pan and bakes into homemade chia seed granola bars with just a small adjustment to the wet ingredients.
What Makes Chia Seed Granola Different?
Standard granola relies on oats, nuts, and a sticky binder for its crunch. Adding chia seeds changes the texture in a subtle but noticeable way. The tiny seeds toast alongside the oats, developing a faint nuttiness, and once they cool, they firm up and help lock nearby oats and nuts together. The result is a granola with a slightly denser bite and more substantial clusters than an oat-only version, while still staying light and crisp rather than heavy.
Ingredients
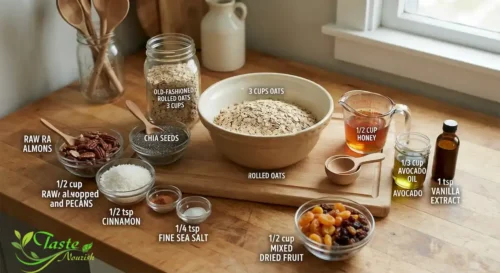
- 3 cups old-fashioned rolled oats (not quick oats or steel-cut)
- 1/2 cup whole chia seeds
- 1 cup raw almonds or pecans, roughly chopped
- 1/2 cup unsweetened shredded coconut (optional)
- 1/2 teaspoon ground cinnamon
- 1/4 teaspoon fine sea salt
- 1/2 cup honey or maple syrup
- 1/3 cup neutral oil, such as avocado oil or melted coconut oil
- 1 teaspoon vanilla extract
- 1/2 cup dried fruit, such as chopped dried apricots or raisins (added after baking)
Ingredient Notes
Old-fashioned rolled oats hold their shape and give the granola structure. Quick oats turn mushy and won’t crisp properly; steel-cut oats stay too hard even after baking.
Chia seeds are added whole, straight from the bag — no soaking. Soaked chia seeds would add unwanted moisture and prevent the granola from crisping.
Honey or maple syrup both work as the primary sweetener and binder. Honey produces a slightly firmer, chewier cluster; maple syrup bakes up a touch lighter and more delicate. Either can be used in the full amount called for.
Oil coats the oats so the sweetener can spread evenly and helps the granola brown instead of drying out. Skipping it or reducing it significantly will leave the granola tasting dry and dusty rather than rich.
Dried fruit goes in after baking, never before. Baking dried fruit alongside the granola turns it hard and leathery.
How to Make Chia Seed Granola
1. Preheat and prep. Preheat the oven to 300°F (150°C) and line a large rimmed baking sheet with parchment paper.
2. Combine the dry ingredients. In a large bowl, stir together the oats, chia seeds, chopped nuts, coconut (if using), cinnamon, and salt until evenly distributed.
3. Warm the wet ingredients. In a small saucepan or microwave-safe bowl, gently warm the honey and oil together just until the honey loosens and the two blend easily, about 30 seconds. Stir in the vanilla.
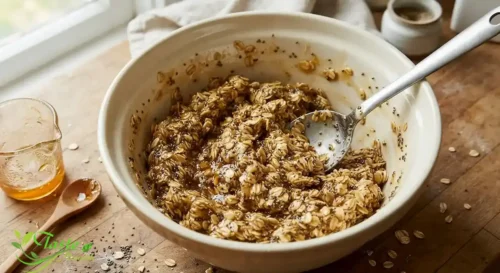
4. Combine. Pour the warm honey mixture over the dry ingredients and stir thoroughly with a sturdy spatula until every oat flake and seed looks glossy and coated. No dry patches should remain.
5. Press onto the pan. Spread the mixture onto the prepared baking sheet, then use the back of the spatula or a flat-bottomed measuring cup to press it firmly into an even layer, about 1/2 inch thick. This compacting step is what creates clusters.
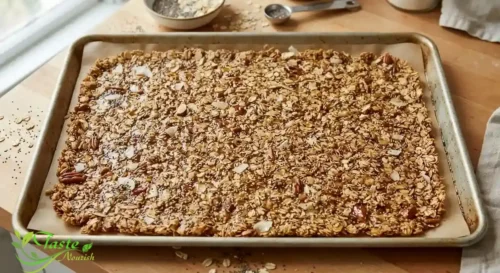
6. Bake. Bake for 35–45 minutes total. At the 15-minute mark, use a spatula to lift and turn large sections of the granola without fully breaking it apart, then re-press it into an even layer. Leave the final 10–12 minutes of baking undisturbed so the top can turn golden brown and firm up into clusters.
7. Cool completely. Remove the pan from the oven and set it on a rack. Do not touch or stir the granola. Let it cool fully, at least 45 minutes, directly on the pan. It will still feel a little soft and underbaked when hot — that’s expected, and it firms up entirely as it cools.
8. Break apart and finish. Once completely cool, break the granola into clusters of your preferred size and stir in the dried fruit.
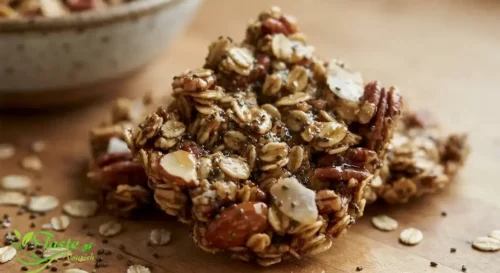
How to Get Big, Crunchy Clusters
Three things determine whether this chia seed granola recipe turns out in loose crumbs or satisfying clusters: how firmly you press the mixture before baking, how often you disturb it while baking, and how completely you let it cool afterward.
Pressing the raw mixture into a compact, even layer forces the oats, chopped nuts, and chia seeds into close contact so the honey and oil can glue them together as they bake. Stirring too frequently during baking breaks up that structure before it has a chance to set, which is why this recipe calls for only one gentle turn partway through, followed by undisturbed baking. Finally, chia seeds and the sugars in honey both firm up as they cool, so a granola that seems slightly soft straight out of the oven will crisp fully once it has rested untouched on the pan.
Cooking Method: Low and Slow in the Oven
This recipe uses a standard oven at a relatively gentle 300°F rather than a hotter, faster bake. Because chia seeds and rolled oats are both small and thin, a higher oven temperature browns the surface before the inside has fully dried out, leaving the granola chewy in the center and prone to burning at the edges. The lower, slower bake allows the moisture to evaporate gradually while the sugars caramelize evenly, producing a granola that’s crisp all the way through rather than just on the outside.
How to Serve Chia Seed Granola
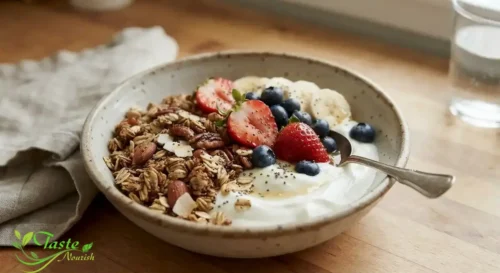
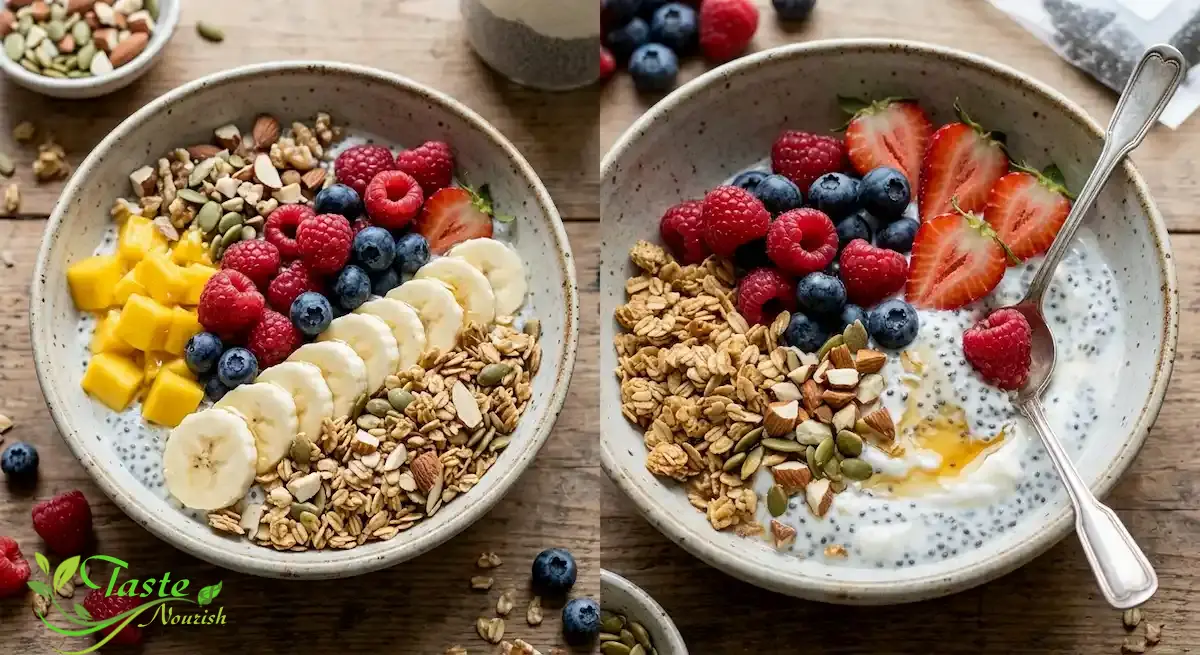
Serve this granola cool or at room temperature — never warm, since the clusters will feel soft and chewy rather than crisp until they’ve fully cooled. It’s a natural fit over yogurt, spooned into a smoothie bowl, or eaten straight with cold milk. A handful also works well as a crunchy topping for baked oatmeal or fruit salad.
Toppings and Add-Ins
Beyond the dried fruit stirred in after baking, this granola pairs well with fresh berries, sliced banana, or a drizzle of nut butter when served over yogurt. If you’d like extra crunch, a spoonful of additional toasted coconut or chopped nuts can be added along with the dried fruit at the end — just avoid adding anything moist or fresh before baking, since it will steam the granola instead of letting it crisp.
Turning This Into Chia Seed Granola Bars
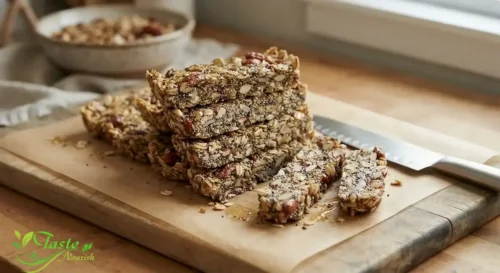
The same base recipe presses into homemade chia seed granola bars with one adjustment: increase the honey or maple syrup to 3/4 cup so there’s enough sticky binder to hold bars together once cut. Line an 8-by-8-inch pan with parchment, leaving an overhang on two sides. Press the mixed granola into the pan very firmly and evenly — more firmly than you would for loose granola — using the bottom of a measuring cup to compact it into every corner. Bake at 300°F for about 30–35 minutes, until the edges are golden brown.
Let the pan cool completely at room temperature, then chill it in the refrigerator for at least an hour before lifting the whole block out using the parchment overhang and slicing it into bars. Chilling firms up the chia-and-honey binder so the bars hold together cleanly when cut, rather than crumbling.
Storage
Once fully cooled, store the granola in an airtight container at room temperature, away from heat and direct sunlight. Kept dry and sealed, it will stay crisp for about two to three weeks. If the clusters start to soften, a brief 5-minute re-crisp in a 300°F oven will restore their crunch. Granola bars should be stored in an airtight container in the refrigerator, layered with parchment between them so they don’t stick together, and are best eaten within about a week for the cleanest texture.
Common Mistakes
- Not pressing the mixture firmly enough before baking. A loosely spread layer bakes into fine crumbs instead of clusters, because the oats and seeds never make enough contact for the honey to bind them. Press the raw mixture down firmly with a flat surface before it goes in the oven.
- Stirring too often during baking. Frequent stirring breaks apart the clusters as they’re forming. Turn the granola only once, partway through, and leave it undisturbed for the rest of the bake.
- Judging doneness while the granola is still hot. Granola always looks and feels underbaked straight out of the oven; it firms up as it cools. Pulling it early because it seems soft usually means it’s actually underbaked once it cools completely.
- Skipping the cooling time. Breaking up or storing granola while it’s still warm traps steam, which softens the clusters. Let it cool fully and undisturbed on the pan first.
- Adding dried fruit before baking. Dried fruit turns hard and leathery in the oven. Stir it in only after the granola has finished baking and cooling.
- Using quick oats instead of old-fashioned rolled oats. Quick oats are cut thinner and absorb the wet ingredients too fast, leading to a mushy, dense texture instead of distinct, crisp pieces.
- Baking at too high a temperature. A hotter oven browns the surface before the granola dries through, leaving it chewy inside and burnt on top. Stick to the lower, slower 300°F bake.
Troubleshooting
Granola isn’t crisping up even after cooling. This usually means it was underbaked. Spread it back onto the pan and bake for another 5–8 minutes at 300°F, then let it cool completely again before checking.
Granola turned out tough or hard rather than crisp. This points to overbaking or too little oil in the mix. Next batch, check the granola a few minutes earlier and make sure the oil is fully incorporated into the honey before combining with the dry ingredients.
No large clusters formed. The mixture likely wasn’t pressed firmly enough before baking, or was stirred too often during baking. Press harder next time and limit stirring to a single gentle turn.
Granola bars crumble when sliced. The bars need more chilling time to firm up, or the mixture wasn’t pressed compactly enough into the pan. Chill for a full hour before cutting, and use a sharp knife in one firm downward motion rather than sawing.
Variations
Nut-free — Omit the nuts and replace them with an equal amount of pumpkin seeds or sunflower seeds for crunch.
Dairy-free and vegan — Use maple syrup in place of honey; every other ingredient in this recipe is already dairy-free and vegan.
Spiced — Add 1/4 teaspoon ground ginger and a pinch of ground cloves alongside the cinnamon for a warmer, spiced flavor.
Chia Seed Granola Recipe FAQs
Can I make this chia seed granola recipe ahead of time?
Yes. It’s a naturally make-ahead recipe — in fact, it needs to cool and rest before it’s ready to eat, so making it a day in advance works perfectly.
How do I store homemade granola with chia seeds?
Keep it in an airtight container at room temperature, away from heat and moisture, and it will stay crisp for about two to three weeks.
Why isn’t my granola forming big clusters?
The mixture usually wasn’t pressed firmly enough before baking, or was stirred too much while baking. Press it into a compact, even layer and limit stirring to one gentle turn.
Can I substitute the honey for another sweetener?
Maple syrup works as a direct one-to-one substitute and produces a slightly lighter, less chewy cluster than honey.
Are chia seed granola bars made from the same recipe?
Yes, with one change: use a bit more honey or maple syrup so the mixture binds firmly enough to hold its shape once pressed into a pan and sliced. Full instructions are in the granola bars section above.
Can I use quick oats instead of old-fashioned rolled oats?
It’s not recommended. Quick oats are thinner and absorb moisture faster, which leads to a denser, mushier granola instead of distinct crisp pieces.
Why does my granola taste soft right out of the oven?
This is normal. Granola continues to firm up as it cools, so judge its texture only after it has cooled completely on the pan, not while it’s still warm.
Conclusion
This chia seed granola recipe comes down to a few simple habits: press the mixture firmly before baking, resist the urge to stir it too much, and give it the full cooling time before you dig in. Follow those steps and you’ll get a batch of big, crisp clusters every time — whether you’re eating it by the handful, spooning it over yogurt, or pressing it into bars for a grab-and-go breakfast.